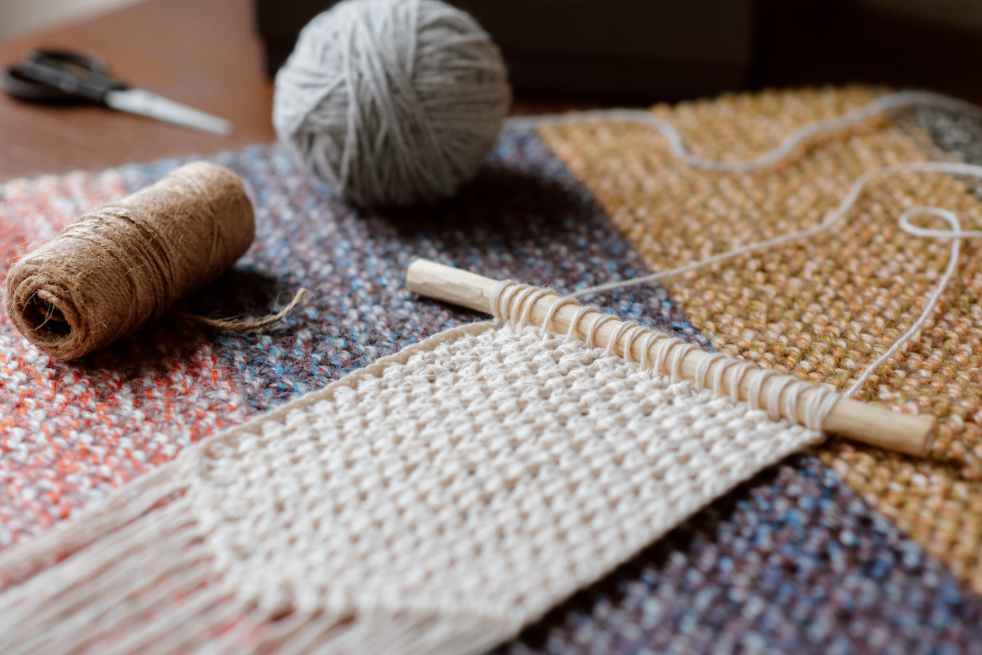
Macramé is a beautiful and therapeutic craft that involves creating intricate designs using knots. Making a macramé wall hanging is a perfect project for beginners, requiring only a few materials and basic knotting techniques. Follow this step-by-step guide to create your own stunning macramé wall hanging.
Materials:
- Cotton cord or rope (3mm or 5mm thickness)
- Wooden dowel or metal ring for hanging
- Scissors
- Tape measure
- Comb or brush for unraveling knots (optional)
Step 1: Set Up Your Workspace Choose a well-lit and comfortable space to work. Lay out your materials and ensure you have enough room to spread out your cord.
Step 2: Cut the Cord Measure and cut several pieces of cord, each around 12 feet long. The number of cords you cut will depend on the design you choose. You can start with 8-12 cords for a simple design.
Step 3: Attach the Cords to the Dowel Fold each cord in half and attach it to the dowel using a lark’s head knot. Repeat until all the cords are attached, creating an even number of working cords.
Step 4: Start with the Square Knots Divide the cords into pairs. To create a basic square knot, take the left cord of one pair and cross it over the right cord. Then, bring the right cord behind the left and up through the loop. Repeat the process in the opposite direction to complete the square knot. Make several square knots in a row to form a pattern.
Step 5: Experiment with Different Knots Explore other basic knots like the half-square knot, double half-hitch, or diagonal clove hitch to add variety and texture to your design. Combine these knots to create unique patterns.
Step 6: Create Layers and Fringes Experiment with different lengths and layers by alternating longer and shorter cords. Add fringes by leaving some cords unknotted at the bottom. You can trim the ends to create a straight line or leave them uneven for a more organic look.
Step 7: Finish and Hang Once you’re satisfied with your design, tie a secure knot at the bottom to hold everything in place. Trim any excess cord. Attach a separate piece of cord to each end of the dowel for hanging, ensuring it’s level. Find a suitable spot to display your beautiful macramé wall hanging.
Conclusion: Congratulations! You’ve completed your first macramé wall hanging. As you gain more experience, feel free to experiment with different knot combinations and designs to create unique and personalized pieces of art. Enjoy the process and the satisfaction of creating something beautiful with your own hands.
Just remember there are plenty of how to videos out there on YouTube if you get stuck.
Keep on crafting.
Becks xo
